San Ramon · Before You Book
The Four Photos to Text Before Your San Ramon Sub-Zero Visit
A repair goes faster when the technician already knows the exact unit before the van leaves Bishop Ranch. The single most useful thing a San Ramon homeowner can do is send four clear photos ahead of the visit: the model/serial tag, the control display, the condenser area, and whatever the unit is doing wrong. Done right, those photos get the correct OEM part on the van the first time.
Direct answer
Send four photos before booking your Sub-Zero repair: the model/serial tag, the control panel or display, the condenser behind the grille, and the symptom itself (frost, a leak, a warm shelf, a flashing code). Those photos let us match the exact part to your model before we drive out to San Ramon, which cuts return trips and shortens the visit. Call (925) 940-3576.
Why it matters
Why four photos shorten a San Ramon repair visit
Sub-Zero has built dozens of model families over thirty-plus years, and parts are model- and date-code-specific. A thermistor, evaporator fan motor, damper, or door gasket that fits a BI-48 will not necessarily fit a 642 or a Designer column. When you read a model number aloud over the phone, characters get transposed and the wrong part rides out to San Ramon. A photo of the tag removes that guesswork entirely.
The other three photos do the rest of the diagnostic work before anyone knocks. The display tells us whether a code is set. The condenser shot tells us if a coil packed with Dougherty Valley hillside dust is the whole story. The symptom photo separates a frost-line problem from a leak from a gasket failure. Together they let us:
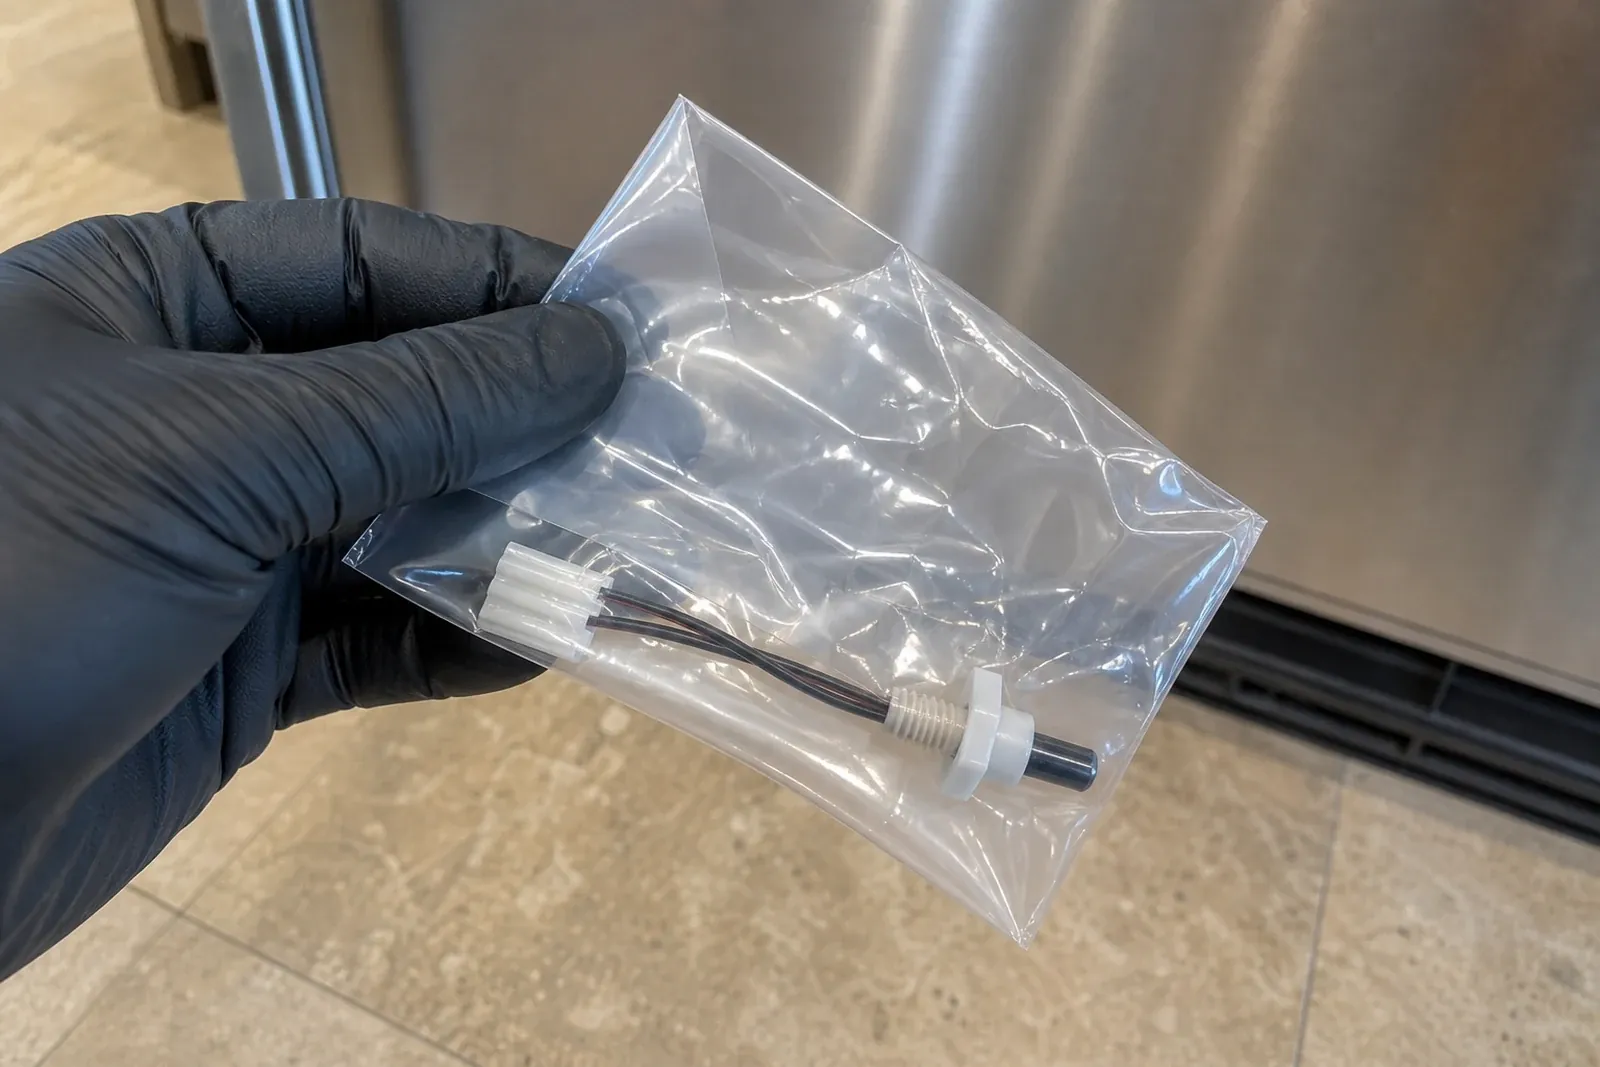
- Stock the right OEM part on the van. We match the part to the exact model from the tag, so the common fix is on board when we arrive.
- Skip the avoidable second trip. Across the Tri-Valley, the biggest reason a repair needs two visits is a part identified only after the first look. Photos move that step earlier.
- Quote more accurately. Seeing the symptom up front means the flat quote we approve with you is grounded in what is actually happening.
None of this replaces an in-home diagnosis — a sealed-system fault still needs gauges and amp readings in your kitchen. But it gets us most of the way there before we leave the Crow Canyon corridor. For reading the number itself, our model-number guide walks through the tag character by character.
Photo 1 of 4
Where to photograph the model/serial tag by unit type
The tag is the most important photo, and where you find it depends on what kind of Sub-Zero you own. It is a printed sticker with the model number, a serial number, and usually a date. Open the right door, find the tag at the location below, and take one sharp, well-lit photo. The locations are official Sub-Zero tag placements — match yours to the table.
If you are not sure which family you have, the tag itself settles it once you photograph it. Designer, Integrated, drawer, and 700-Series units hide the tag inside the cabinet, so you may need to open the upper drawer or door fully to see it. For panel-ready columns common in Dougherty Valley and Canyon Lakes, the tag sits left of the upper drawer, not on the door.
| Your Sub-Zero type | Where the tag is | How to reach it |
|---|---|---|
| Over/Under built-in (BI-36, BI-42, 632, 642) | Inside the fresh-food (fridge) door, near the top hinge | Open the fridge door fully; tag is on the upper inner wall |
| Side-by-side built-in (BI-42S, BI-48S) | Inside the freezer door, near the top hinge | Open the freezer side; look high near the hinge |
| Classic French door (BI-36, 685) | Inside the left-hand door, near the top hinge | Open the left fresh-food door; tag is up near the hinge |
| Designer Tall / Integrated (IT-, DET-, IC-24) | Inside the cabinet, to the LEFT of the upper drawer | Open the door/drawer; look on the left interior wall |
| Designer Drawers / 700 Series (ID-30R, 700BR) | Inside the cabinet, to the LEFT of the upper drawer | Pull the upper drawer out to see the left wall tag |
| Undercounter / Wine (UC-24, 424, 427, 315I) | Inside the cabinet near the top, or on a side wall | Open the door; check the upper interior and side walls |
Get a usable shot
How to take a tag photo we can actually read
A blurry, glare-washed tag photo is almost as unhelpful as a number read over the phone. The interior of a Sub-Zero is a cramped, shiny, backlit space, so a few small adjustments make the difference between a readable shot and one we have to ask you to retake. Here is what works in a real San Ramon kitchen:
- Wipe the tag first. A quick swipe clears the film of dust and condensation that throws off autofocus.
- Get close, then steady. Fill the frame with the tag and let the camera lock focus before you tap. If it will not focus up close, back off a few inches and zoom in slightly.
- Kill the glare. The bright interior light and a phone flash bounce straight off a glossy label. Turn the flash off, angle the phone so the reflection falls outside the frame, and use the room light or a second phone as side lighting instead.
- Hold the door light open. On some units the interior light cuts out when the door is held; prop it or use side light so the tag is not in shadow.
- Check it before you send. Pinch-zoom your own photo. If you can read every character of the model and serial number, so can we.
If the print is faded or the tag is unreachable behind a built-in, do not worry — send your best shot and a photo of the front of the unit. We can often identify the family from the cabinet style and the display alone, and confirm the exact model on arrival.
Photos 2-4
The display, the condenser, and the symptom
With the tag captured, three more photos round out the picture. Each one answers a question that otherwise has to wait until a technician is standing in your kitchen.
- Photo 2 — the control panel or display. Shoot the temperature display and any lit indicators exactly as they are now. If a code or a Vacuum Condenser / Service light is flashing, capture it. Do not clear it first — on 600-series and other older units that code is part of the diagnosis, and you should only clear it once temperatures are back near normal. See our error-codes page for what the common ones mean.
- Photo 3 — the condenser area. Open the upper grille and photograph the coil. In San Ramon's heat and Diablo-wind dust, a gray felt across the coil fins is the single most common cause of a warm Sub-Zero, and the photo often tells us the fix before we leave. Do not poke anything into the coil — just photograph what you see.
- Photo 4 — the symptom. Show us the actual problem: frost building on the freezer back wall, water pooling under a drawer, a wine zone reading too warm, condensation or mold along a door gasket, or a thermometer on a warm shelf. A picture of the symptom separates a not-cooling fault from a gasket or ice-maker issue immediately.
If you can add a quick note — compartment temperatures and the time of day — that turns "it feels warm" into numbers we can act on. A short temperature log paired with these photos is the strongest booking we get.
What to expect
What good photos do for the quote and the trip
Photos do not change our honest, diagnostic-first pricing — they make it more accurate sooner. We still confirm everything in your kitchen and approve a flat quote with you before any work starts, and the $95-$150 service call is credited toward the repair. What the photos change is how often that quote is right the first time and how rarely a part has to be ordered after the visit.
Most San Ramon repairs we identify from photos fall in predictable bands. Here is roughly where the common ones land once we have seen the tag, the display, the coil, and the symptom:
| What you send | Likely diagnosis | Typical band |
|---|---|---|
| Clear tag + dusty condenser photo | Coil cleaning, possible evaporator fan or gasket | $200-$650, fix often on the van |
| Tag + flashing Service / Vacuum Condenser code | Long-run / heat-rejection issue; condenser first | Diagnose in-home; $200-$650 typical |
| Tag + frost-line or warm-shelf symptom photo | Defrost, thermistor, damper, or evaporator fan | $200-$650; part matched from tag |
| Tag + both sides warm, runs constantly | Sealed-system / compressor; needs gauges in-home | $900-$1,800; check 12-yr warranty first |
| Tag + gasket condensation or mold photo | Door gasket replacement matched to model | $200-$650; OEM gasket from the tag |
Send and book
How to send the photos and get on the San Ramon calendar
When your four photos are ready, book online and bring them to the visit, or call (925) 940-3576 and we will tell you exactly where to send them so the right part is matched to your model before we head out. The more we know before leaving the Bishop Ranch and Crow Canyon corridor, the smoother the trip to your door — whether that is a Dougherty Valley hillside lot with a long driveway, a gated Canyon Lakes or Norris Canyon home, or an older San Ramon Village ranch with a tight cabinet cutout.
A few things to mention along with the photos: any gate code or HOA check-in for gated communities, whether the unit is a panel-ready built-in that needs a careful cabinet-safe pull, and how to reach you. See how a visit works, our preparation checklist, and the areas we cover. To book online, use our booking page.
Next step
Call with the Sub-Zero model number
Have the model-tag photo, current fresh-food and freezer temperatures, and the symptom timeline ready. That lets the San Ramon intake route the visit around the likely Sub-Zero part family instead of a generic appliance script.
FAQ
Questions San Ramon homeowners ask before scheduling
What photos should I send before a Sub-Zero repair?
Send four: the model/serial tag, the control panel or display, the condenser behind the grille, and the actual symptom (frost, a leak, a warm shelf, or a flashing code). Those four let us match the exact OEM part to your model before the van leaves Bishop Ranch, which means the common fix is often on board when we reach your San Ramon kitchen. Add your compartment temperatures if you can, then call (925) 940-3576.
Where do I photograph my Sub-Zero model number?
It depends on the unit. On an over/under built-in the tag is inside the fridge door near the top hinge; on a side-by-side it is inside the freezer door near the hinge; on a Classic French door it is inside the left door near the hinge. On Designer, Integrated, drawer, and 700-Series units it sits inside the cabinet to the left of the upper drawer. Open the right door, find the printed sticker, and photograph it.
How do I take a good photo of my Sub-Zero tag?
Wipe the tag, get close, and let the camera lock focus before you tap. Turn the flash off and angle the phone so the bright interior light does not glare off the glossy label — side lighting from the room or a second phone works best. Then pinch-zoom your own photo: if you can read every character of the model and serial number, so can we. Send your best shot to (925) 940-3576.
What do you need to see before booking a San Ramon visit?
The tag for the exact model, the display for any code, the condenser to check for the hillside dust common across San Ramon, and the symptom so we know whether it is a cooling, gasket, ice-maker, or sealed-system issue. With those we stock the right part and quote accurately. We also like to know any gate code, HOA check-in, or panel-ready built-in details so the trip to your door goes smoothly.
Will sending photos get me an exact price over the phone?
Photos sharpen the estimate but do not replace the in-home diagnosis. We confirm everything in your kitchen and approve a flat quote with you before any work starts, with the $95-$150 service call credited toward the repair. A clear tag and symptom photo mean that quote is usually right the first time, but a sealed-system fault still needs gauges and amp readings in person before we put a number on it.
I can't reach the tag behind my built-in — what should I do?
Send your best shot anyway plus a photo of the front of the unit and the display. We can often identify the family from the cabinet style, the door layout, and the controls, then confirm the exact model on arrival. This is common with flush panel-ready columns in Dougherty Valley and Canyon Lakes, where the tag hides left of the upper drawer. Call (925) 940-3576 and we will work with whatever you can capture.
Related